
Introduction
When it comes to designing your Pixel 3xl background, you want to make sure the process is as fast and furious as possible. That’s where Photoshop comes in handy. In this tutorial, we will teach you how to create a fast and furious Pixel 3xl background in Photoshop. From starting with a blank canvas to adding in textures and layers, we will guide you through the entire process. So whether you’re looking to spruce up your phone’s default wallpaper or just need a creative solution for a project, this tutorial is for you.
If you’re looking for a quick and easy way to create a pixel perfect background in Photoshop, then this tutorial is for you! First, you’ll need to download and install the Pixel xl Background Creator plugin. After that, follow the instructions below to create your own high-resolution background.
1. Open Photoshop and start by importing your image into the program. If you want to use an existing image, just drag and drop it into Photoshop.
2. Next, select the Pixel xl Background Creator plugin from the toolbar and click on the “New” button located at the top left corner of the window.
3. On the next screen, enter a name for your background and choose a location on your computer where you want it to be saved (you can also save it to your local disk). Click on the “Create Background” button to continue.
4. Once your background has been created, you’ll need to resize it so that it’s exactly how you want it. To do this, first click on the “Background” tab located at the bottom of the window and then select “Resize.” You can now adjust all of the dimensions until you have a background that’s exactly what you wanted it to be.
5. Finally, if you want to add text or other graphics onto your background, just click on the “Background Layer” tab located at the bottom of the window and then select “Add Layer.” Now, add
How To Create A Fast And Furious Pixel 3xl Background In Photoshop
In this tutorial, we will be teaching you how to create a pixel perfect Fast and Furious Pixel 3XL background in Photoshop. This is an easy and fun project that can be completed in no time at all. First, open up Photoshop and create a new document. We’ll call this project “Fast and Furious Pixel 3XL Background.” Next, set the canvas size to 3600 x 2400 pixels. Make sure that you have the Type tool (T) selected, then go ahead and click on the New icon (+) located in the Toolbar to bring up the New Document dialogue box. In the Text field at the top of the dialogue box, type in “Fast and Furious Pixel XL Background”. Click on OK to close out of the New Document dialogue box. Next, we need to start creating our background image! To do this, we will select all of the white space within our document by pressing CTRL + A (or CMD + A on a PC). Then, using the Paintbrush tool (B), we will start filling in each area with a solid color using whatever color you want your background to be. Once you are done painting, go ahead and save your document by selecting File → Save As (or press ESC + S on a PC). Finally, go ahead and name your file “Fast and Furious Pixel XL Background”. Now that our background is complete, it’s time to move onto our text!
Steps
Step 1
Download and install the Pixel XL Background Creator tool from pixlr.com. This software allows you to create a custom pixel background in Photoshop.
Step 2
Create a new document in Photoshop and open the Pixel XL Background Creator tool. Click on the “Select Image” button and select the background image you want to use.
Step 3
Drag and drop the selected image onto the window of Pixel XL Background Creator. You can adjust the dimensions of the image using the slider bars on the right side of the window.
Step 4
Select your desired colors for your background and click on “Create”. Your new pixel background is ready to use!
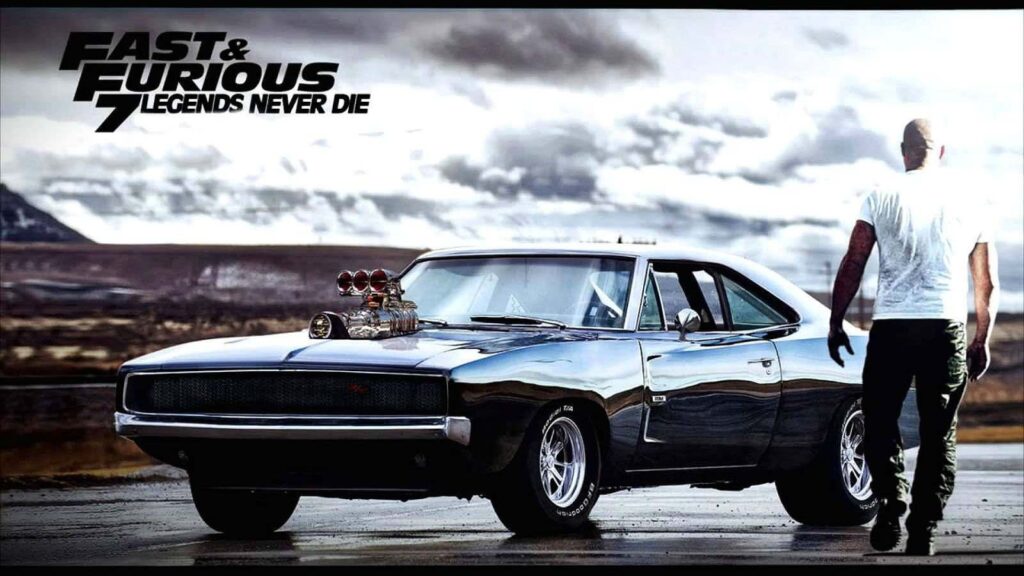
pixel 3xl fast and furious background
If you’re a fan of the Fast and Furious series, you’ll love this Pixel XL fast and furious background. This Photoshop tutorial will show you how to create a pixelated background just like those in the movies. First, we’ll need some images from the movie. We can find these online or on your own device if you’ve got photos of cars from the series saved. Once we have our images, we’ll start to create our Pixel XL fast and furious background.
In this tutorial, we are going to show you how to create a pixel xl background in Photoshop. This is a great way to use up some extra space on your device or to create a unique desktop wallpaper. First, we will need to create the background image. To do this, open Photoshop and create a new document. Then, use the Pen tool (P) to draw a line across the bottom of your document. Next, use the Ellipse Tool (L) to draw an oval around the line you just created. Finally, use the Selective Color Layers option in the Layers palette to change the color of the oval to black. You can now save this file as “background.jpg” on your computer.
Next, we will need to create our Fast and Furious background texture map. To do this, open “Fast and Furious Pixel XL Background Texture”.psd file that you downloaded earlier and click on the “New Texture” button at the bottom of the file window. Then, enter 256 into the “Width” field and 128 into the “Height” field and click on OK. Next, select all of the text layers in your document and click on Liquify (L) from the menu bar at the top of Photoshop window. In Liquify mode, use Ctrl + E (Command + E on Mac) to merge all of these layers together into one layer called “Texture”. You can now save this texture as “bgtexture1.
Conclusion
After reading this article on how to create a fast and furious pixel 3xl background in Photoshop, you will be able to create amazing backgrounds for your photos like a pro! With just a few simple steps, you’ll be able to turn any photo into an eye-catching backdrop that will make your friends jealous. So what are you waiting for? Start turning your boring selfies into cool graphics today!
If you’re looking to spruce up your Pixel 3xl background with a little bit of flare, we’ve got just the tutorial for you! In this Photoshop tutorial, we’ll show you how to create a fast and furious pixel 3xl background using some simple techniques. Whether you’re looking to add a touch of realism to your device or just want to make it look more exciting, this tutorial will get the job done. Give it a try and let us know how it turns out in the comments below!
Leave a Reply